Custom fields
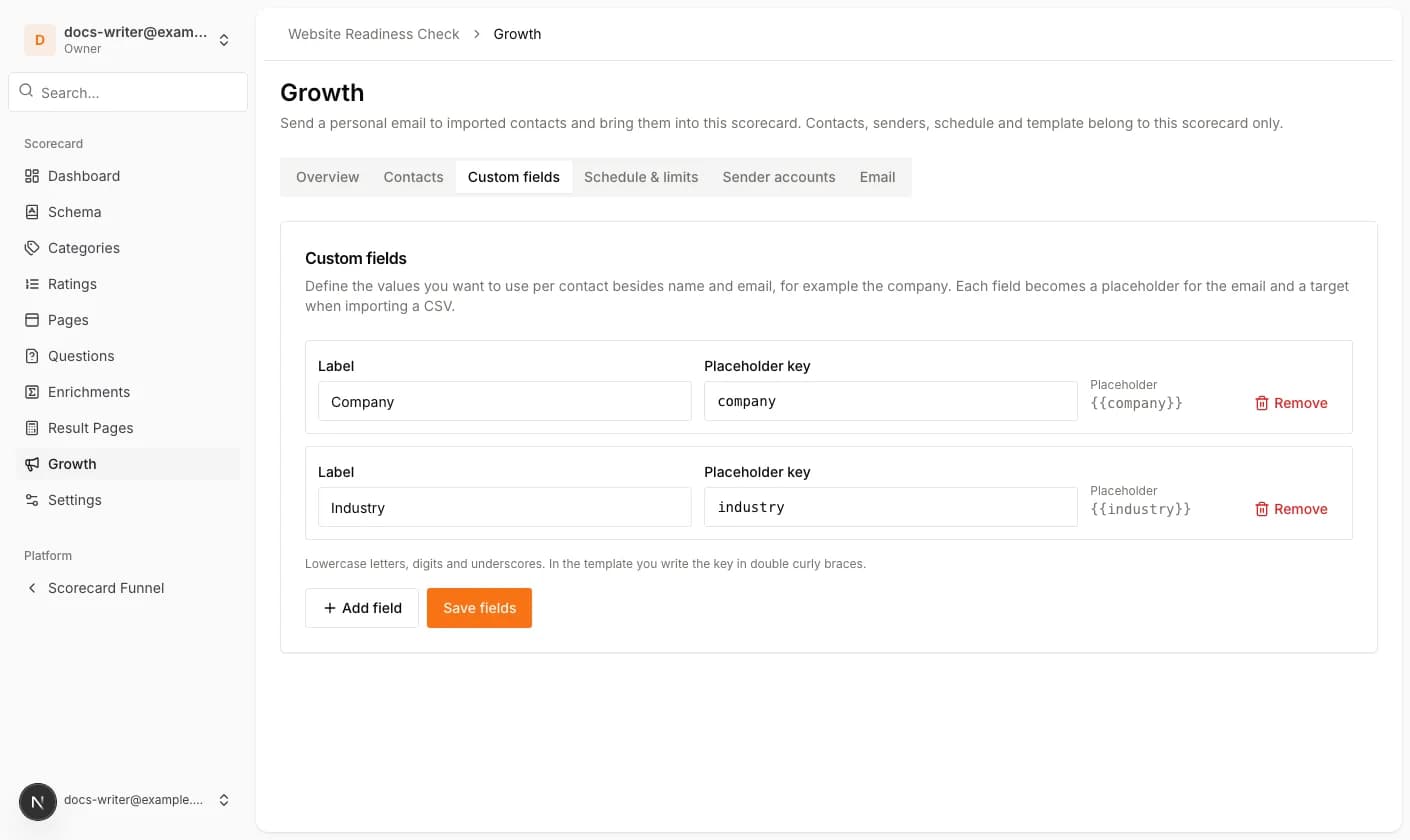
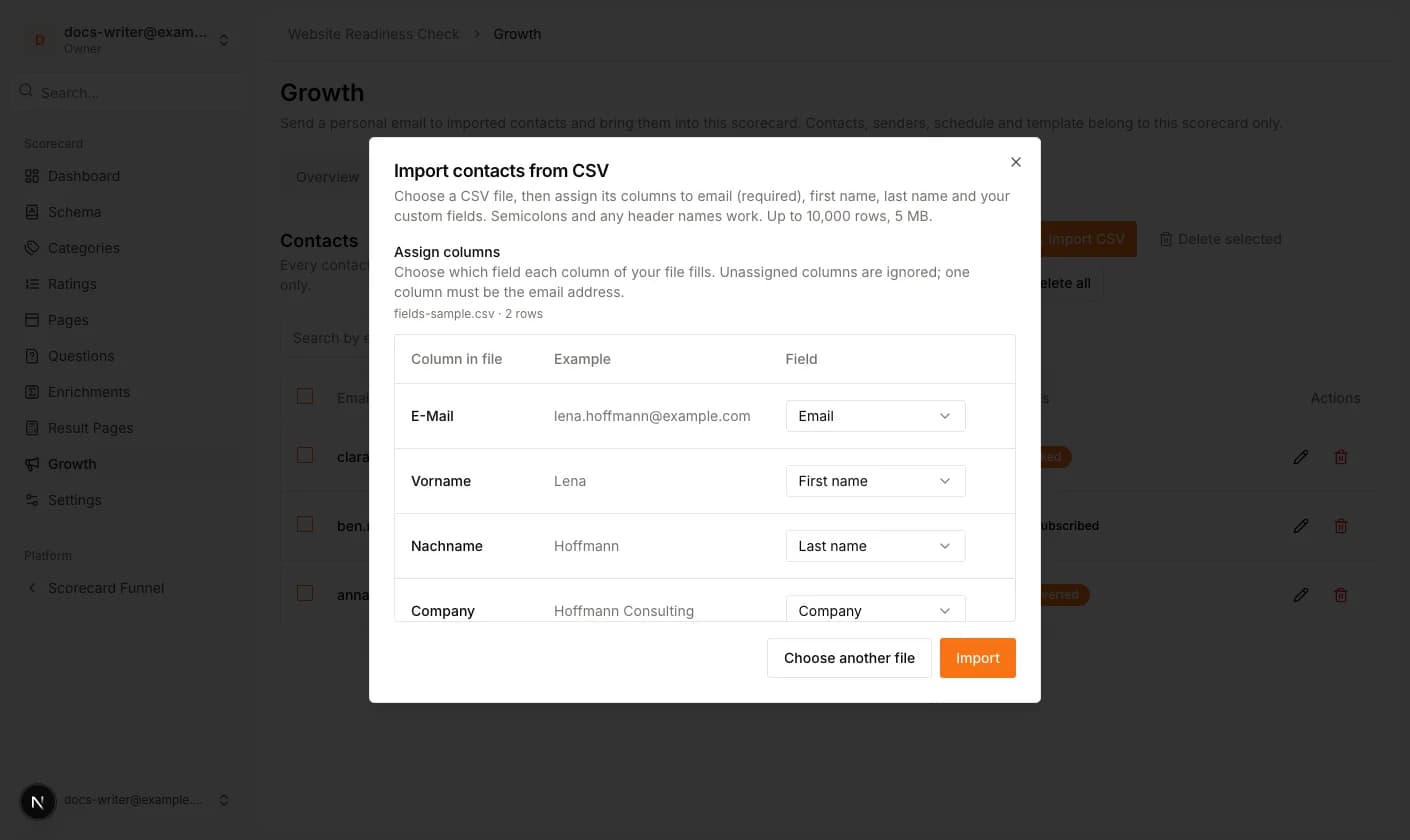
Besides email, first name and last name you can define your own fields per campaign under Custom fields, for example the company or the industry. Give each field a label; Pivix suggests a placeholder key (lowercase letters, digits and underscores), which you can change before saving. Every field becomes a target when importing a CSV, a placeholder for the email and an input in the contact form.
Importing a CSV file
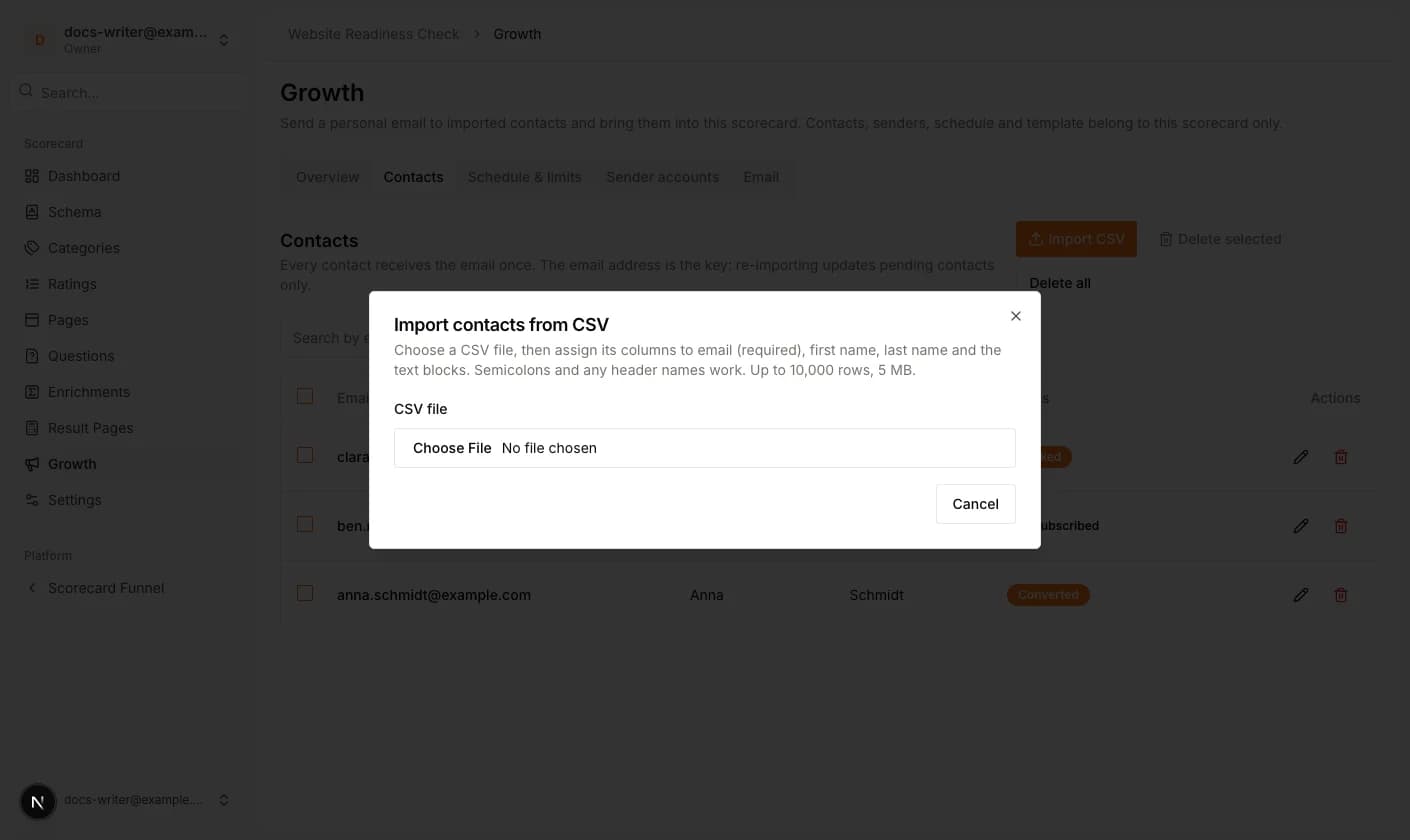
Open the Contacts tab and click Import CSV and choose the file. Pivix reads the columns and shows the first rows, so you can assign every column to a field: the email address (required), first name, last name or one of your custom fields. Columns you do not assign are ignored, and any header names and semicolon-separated files work. A file may have up to 10,000 rows and 5 MB.
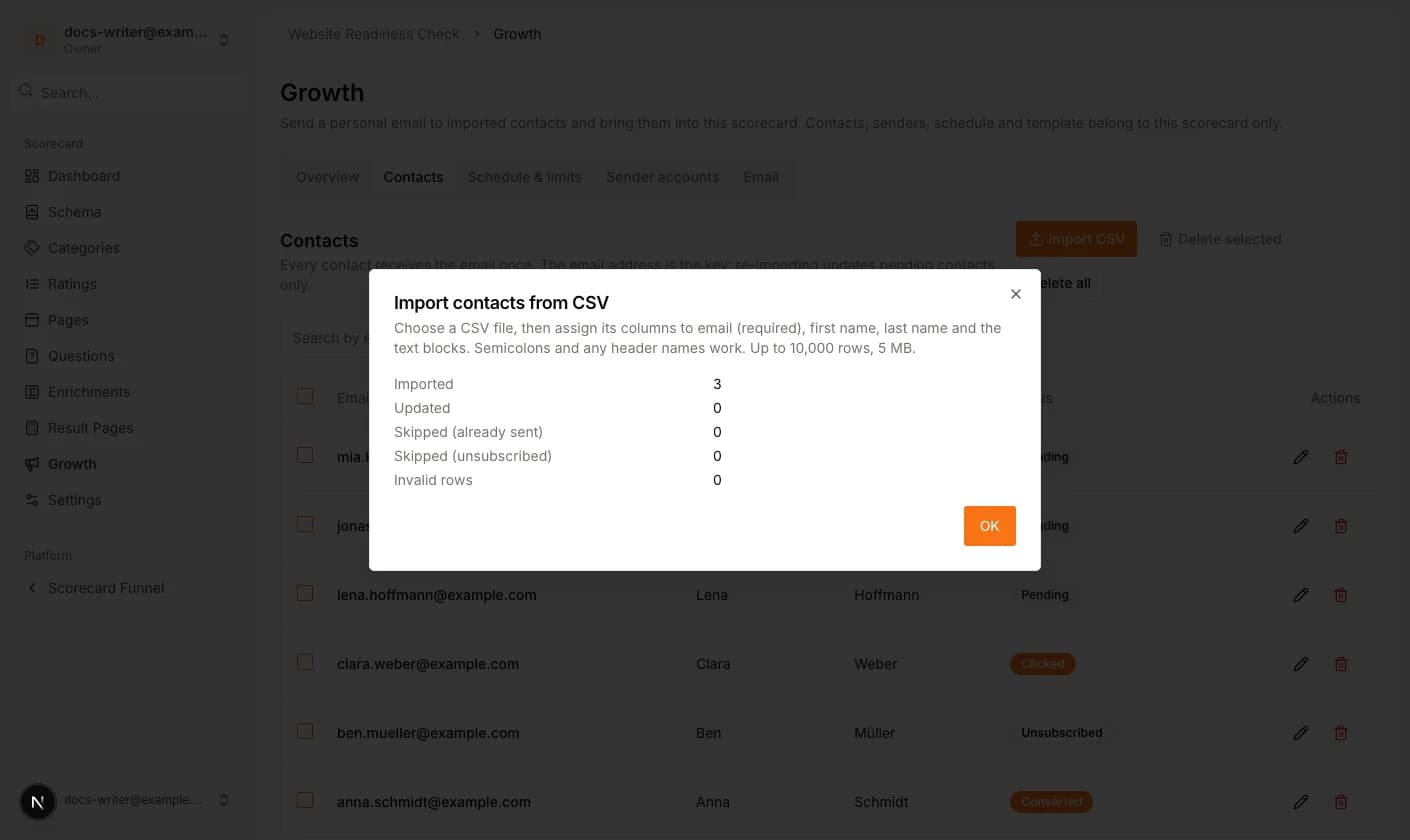
The email address is the key. Rows with an invalid address and duplicates inside the file are reported with their line number. Existing contacts that are still pending are updated; contacts that already received the email are left alone. Addresses that unsubscribed earlier are skipped.
- 1Click Import CSV and choose the file.
- 2Check the suggested assignment of the columns and change it where needed. One column must be the email address.
- 3Click Import and read the report: imported, updated, skipped and invalid rows.
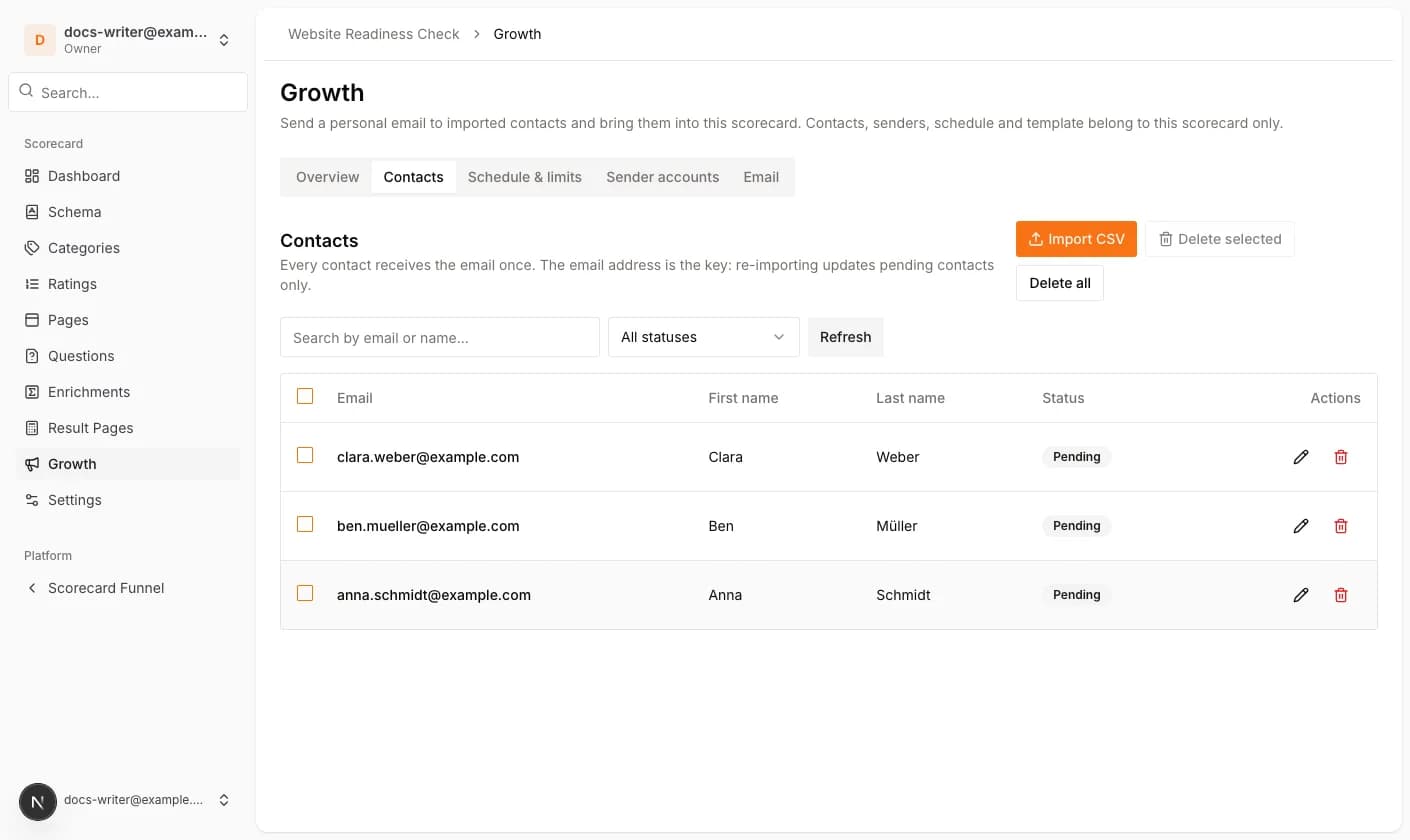
- 4Click OK. The contacts appear as Pending.
Managing contacts
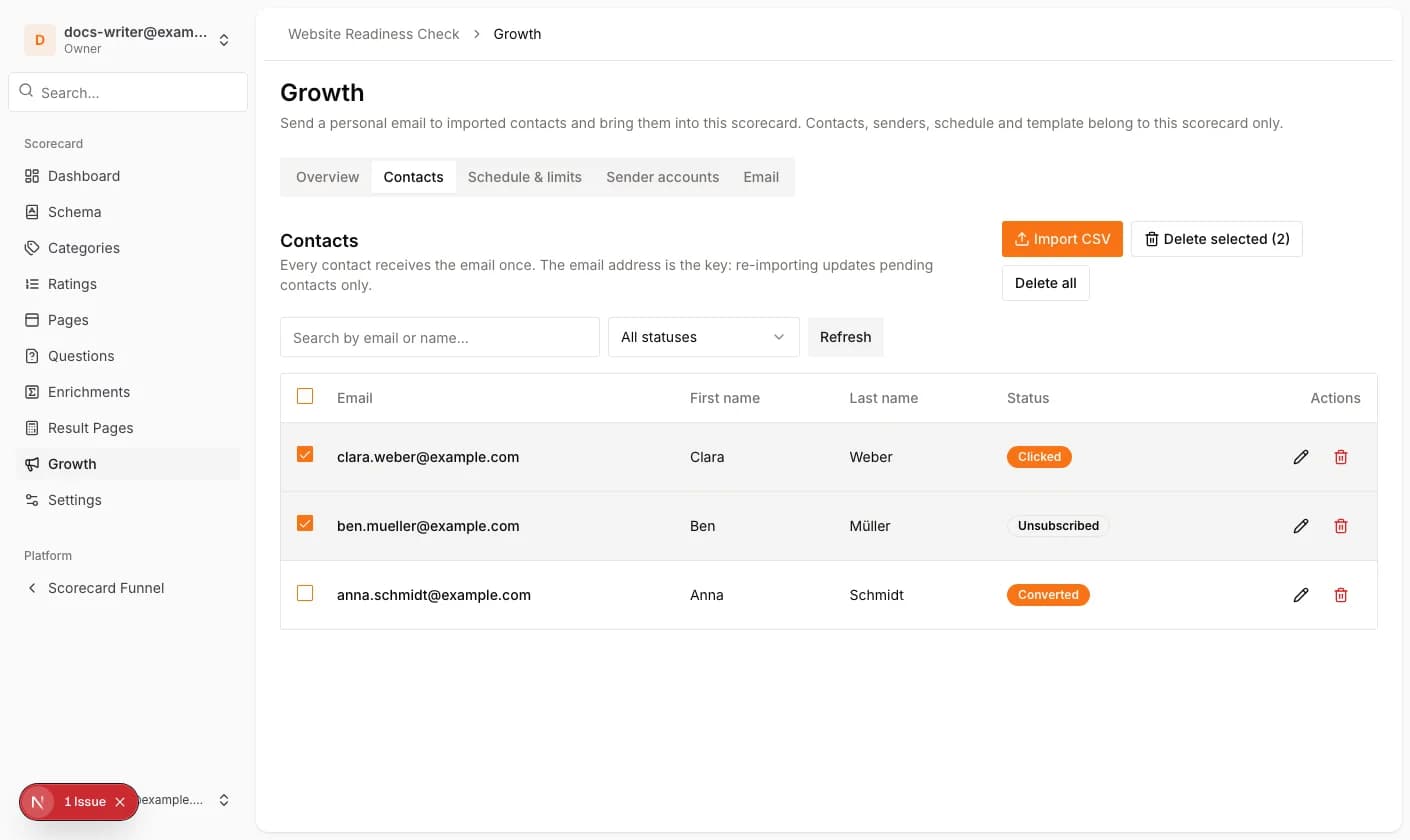
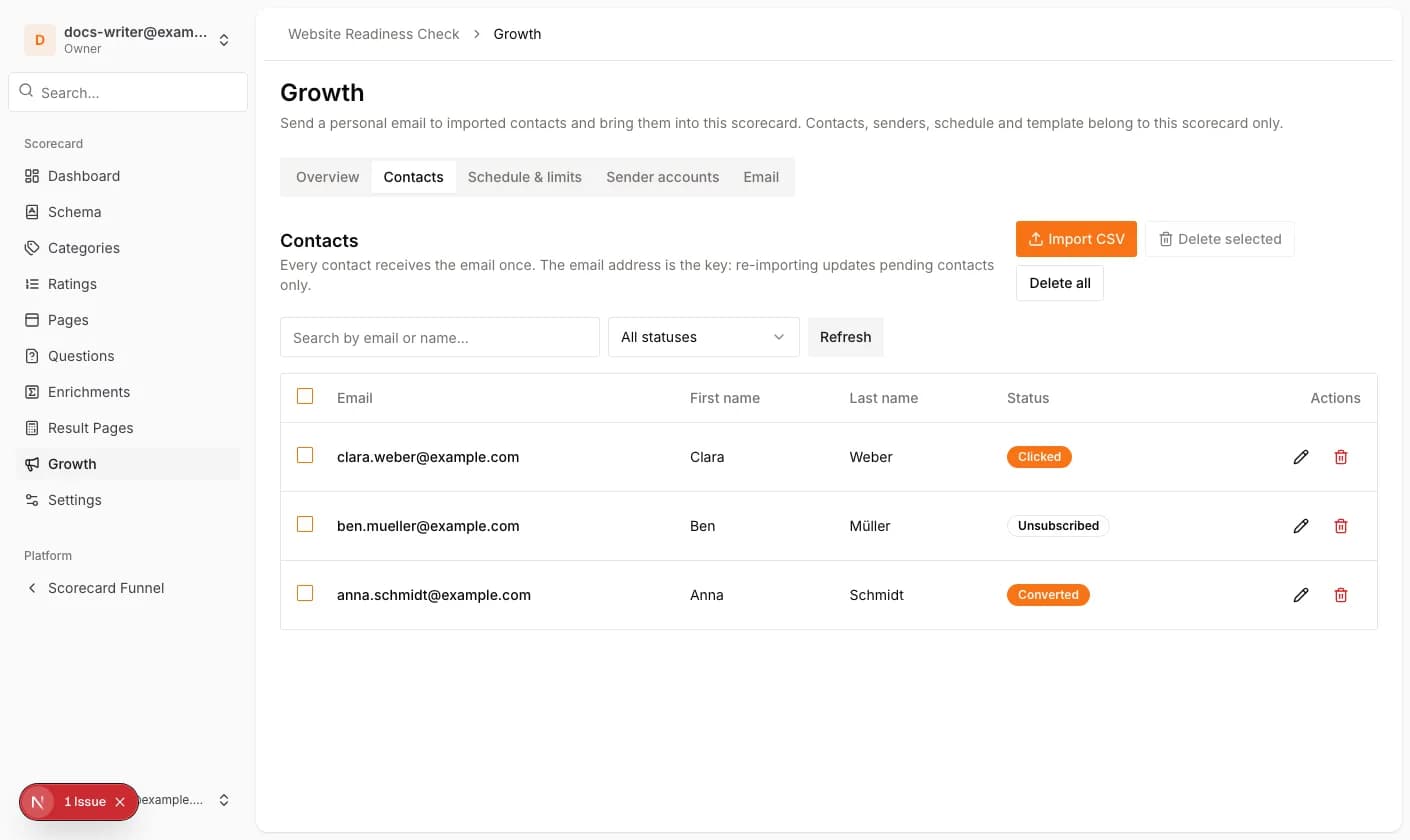
Search by email or name and filter by status. Edit changes the name and the custom fields of a contact; the email address cannot be changed. Select contacts with the checkboxes, or Select all, and use Delete selected. Delete all removes every contact of the current filter. Contacts that are being sent right now are never deleted.
After the campaign ran, the status tells you what happened: Clicked means the contact opened the scorecard link, Converted means the contact finished the quiz and became a lead, Unsubscribed means the contact used the unsubscribe link.